A Handy Guide To Getting Started with Dropbox
Manage My Website uses Dropbox for the sharing of files, images and website content between us and our clients. When you start working with us for the first time, we will set up a folder there for your website and either send you a link to the folder or an invitation to the join the folder.
Here is a handy guide to Dropbox which should help to get you started, if you don’t already use it.
What is Dropbox?
It's a file hosting service which offers, amongst other things, secure cloud storage, and the facility to share information, and collaborate online, with other users.
Why do we use Dropbox?
Imagine all of the content you have for your website – copy, photos, forms, videos. That’s a lot of information and some of those files are going to be huge. You might also want to edit files during the development of your website, add new items and/ or delete others.
Dropbox offers a simple and secure way for our clients to share information with us, without having email trails going backwards and forwards between us, or having to send information on USB drives. Dropbox automatically syncs the information it has saved so if you change anything, we know about it and we always have easy access to the latest version.
Dropbox also enables you to add folders and sub-folders so you can show us what information is relevant to which pages on your website.
Setting up a Dropbox account
In order to share documents and other information with us, you will need to set up an account with Dropbox. Don’t worry, the basic account, which includes 2GB of space for you to use, is free. All you need to sign up is an email address (you will need to use the email address we sent the invitation or link to) and a password.
Here’s a link to the Dropbox home page to set up your account
Once you’ve created your account we’d recommend that you install the desktop app.
Accepting our invitation to the shared folder
1. Click on ‘Sharing’ in the sidebar on the left-hand side.
2. Click on the ‘new shared folder invitation’ link at the top of the next page
3. In the pop-up window, click the ‘Accept’ button next to the name of the shared folder
Adding files to the shared folder
There are two ways to share information – through the Dropbox website or through the Dropbox app.
Through the Dropbox Website
Once you’ve signed in to the website:
1. Click on the ‘Upload’ icon at the very top of the page
2. In the new window, click on ‘Choose File’ and then select the file(s) on your computer that you want to add to the folder
3. Click on ‘Start Upload’
Note, each file uploaded through the website must be 10GB or less. For larger files, you will need to use the app, which has no size limit.
Through the Desktop App
Once you’ve downloaded the app to your desktop, it should appear in the folder under your user name if you are a Windows user, or inside the Home folder if you are using Mac OS X.
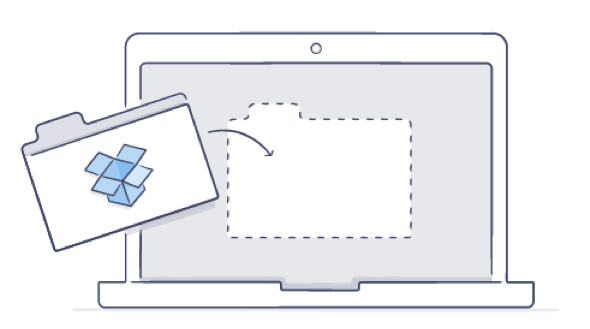
Then, all you need to do is drag and drop your files into the Dropbox folder from wherever they are saved on your desktop. These files will automatically be synced online so we will be able to see them.
If you decide to edit a file later, you can use the ‘Save As...’ option to save files directly to the Dropbox folder.
Dropbox for Mobiles
You can also download a mobile app for Dropbox which will allow you to check your documents, and upload new ones while you're on the move, right from your phone or tablet. Check here for details.
We're pretty certain that once you start using Dropbox you won't look back!
The Help Centre on their website has lots more information and advice if you have any questions or run into difficulties – here’s the link.


